
When you’re just starting out with Photoshop, you might be overwhelmed with all of the options. Agreeably, with programs like this, there are countless tools available to you versus a simple app or with phone editing tools.
However, with a little bit of practice (and a lot of online tutorials), using all tools Photoshop has to offer will soon become second nature. It is suggested that users try to play with a few tools at a time to get an idea of what they do, how they can be beneficial and what kind of situations they work best in.
The burn tool is a popular instrument in Photoshop, which is used simply to darken part of an image. While its job is fairly straightforward, there are some things to be wary of with this tool. If you’re just starting out with Photoshop, follow these guidelines to learn how to use this helpful editing option as well as the dos and don’ts of using the burn tool in Photoshop.
How to Use the Burn Tool
This is how you can use the burn tool in its simplest form.
Once you’ve selected an image in Photoshop, you’ll then need to select the burn tool. You can choose varying sizes of brush stroke as well as design, and you’ll also have the option of choosing the exposure level, or level of darkness.
When you’ve made your selections, hold the tool over a specific part of the image and begin darkening. Remember, you can always undo your changes.
Once you’ve got the basics down, you’ll want to become more familiar with how to use the burn tool at its best. The following are the dos and don’ts of burning an image.
Do
Create Extra Layers for Editing
A lot of photo editing programs have a great feature that allows you to work on a duplicate photo for editing. This ensures that your original stays in its original form, and that you can edit on a new version to your heart’s desire.
What is also cool about these programs is that you can create extra layers for your editing. This means that you can duplicate the background layer that you want to edit, and work on that separately from the photo. In the case that you don’t like what you’ve done, you can lessen the result by lowering the layer’s opacity, or you can delete the layer altogether.
These extra layers ensure that you can work step by step through your editing process, and that you can always revert back to the original photo if you don’t like the burning you’ve done.
Study Light Distribution
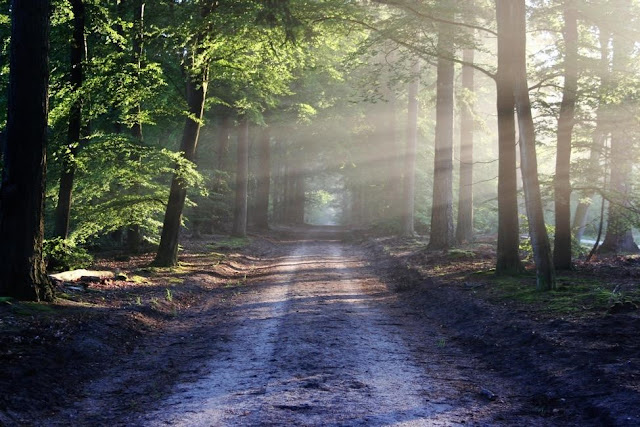
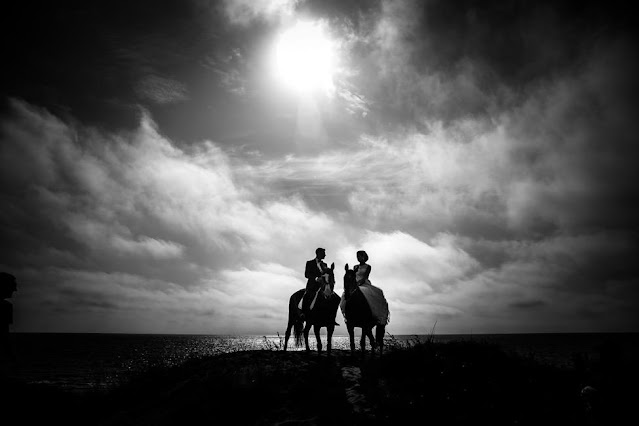
Being able to understand how light distributes across objects, settings and forms is a very helpful skill to darkening and highlighting correctly. This is especially true for outdoor photos, as well as portraits.
Stay up to date on emerging photography trends to add character and creative license to your photos.
Plan Your Photo
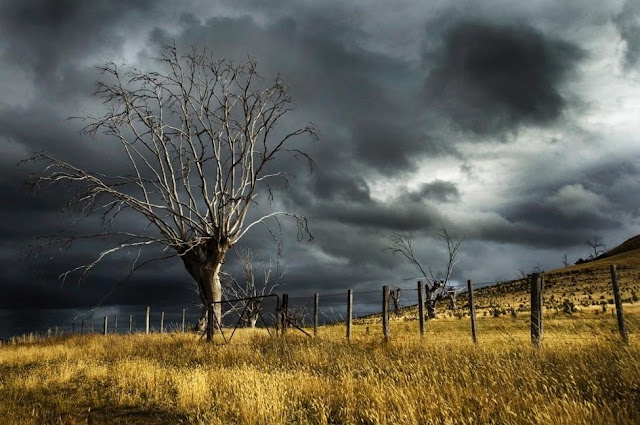
Take some time to really look at a photo and understand what needs some editing. Do you want to bring focus onto something that is too dark? Do you want to make the photo look more gloomy and stormy?
Have a plan for the photo so that you know when and where you’ll need to use your burn tool. It can be easy to get carried away with dodge and burn tools, which is fine if you’re simply experimenting with a duplicate.
However, for your final photo, apply each burn layer and then revisit how it looks compared to the original. Only continue until you’ve hit the perfect amount of shading and then move on to other tools.
Don’t
Remove Your Hand from the Mouse
When you’re editing a photo with a dodge or burn tool, you have to keep your finger pressed down on the mouse to have the tool start working. However, if you accidentally remove your finger and press again, the intensity of the burn will increase when you begin again.
As a result, you may get darkening that is too aggressive for what you wanted, or you may have coloring that is unbalanced throughout your photo. If you want consistency within your image’s coloring (which you normally do!), then you do not want to lift your finger while you burn. If you do, you can always undo the last step.
Overdo Shadows
Viewers will be able to spot areas that are too bright, or shadows that are too dark for the environment. For example, if your image is taken outside on a bright, sunny day, then it’s likely that your shadows won’t be very dark. Using the burn tool too aggressively can create a contrast that is far too stark in comparison to the rest of the photo.
Additionally, if you’re using inkjet printer cartridges on paper that has a high D-max, then your shadows may come out even darker than they look on-screen. Take your printer paper into consideration as well when you’re printing photos after burning.
The burn tool in Photoshop is inarguably one of the most useful instruments for photo editing, but that doesn’t mean you should use it without caution. Overdoing shadows can really distort the balance of the photo’s colors and may take away from images that are close to the border of the burning as well.
If you’re going to be darkening specific parts of a photo, be sure to do so carefully and with a plan. A small amount of shadow usually has an immediate effect on a photo, so take your time with this tool and you’ll be able to create stunning, realistic photos to be proud of.
loved your work very much. keep it up.
ReplyDeleteThis was an amazing tutorial. Great work.
ReplyDelete